
HERE'S HOW YOU FILL IN: Step-by-Step Process
Login to your Account:
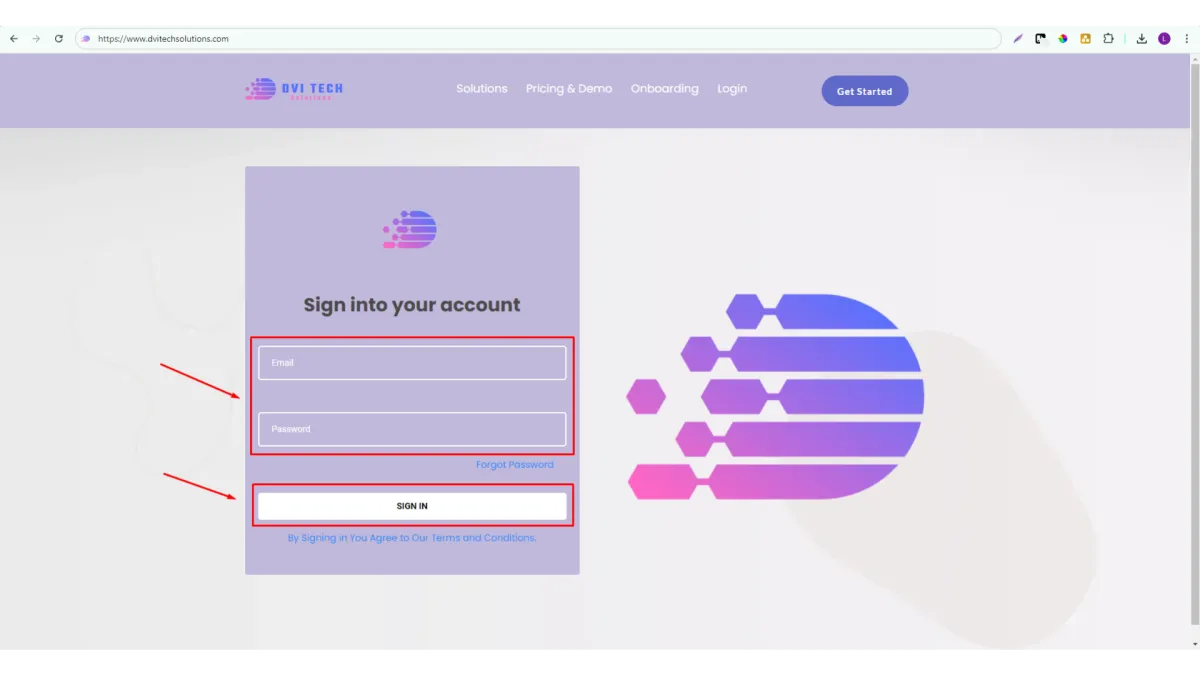
- Visit the DVI Tech Solutions Website
Open your web browser and go to dvitechsolutions.com.

- Click on the "Login" Button
Located at the top-right corner of the homepage, click on the "Login" button to proceed.

- Enter Your Credentials & Sign In
In the login form, input your registered email address and password in the respective fields. After entering your credentials, press the "Sign In" button to access your account.
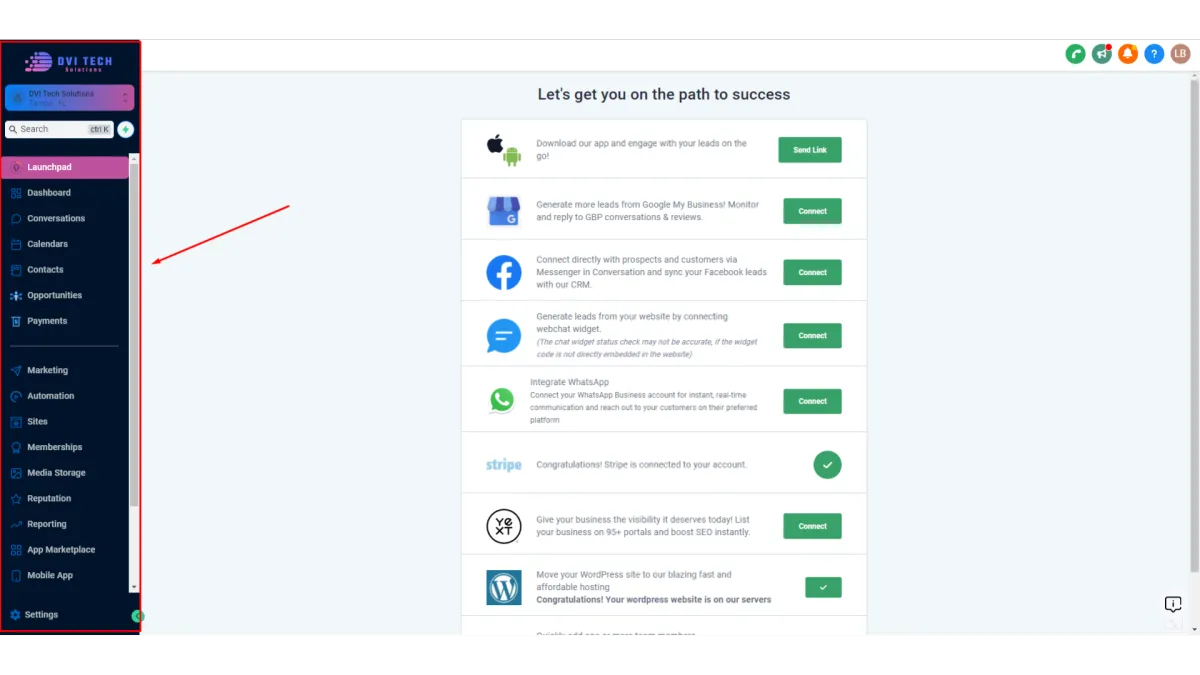
Check Side Tab:
- Locate the Side Menu
On the left side of the screen, you'll find the side menu. It contains various tabs for navigating different sections of your account.
Click Onboarding Setup Link:
- Locate the Onboarding Setup Link
Navigate to the side menu on the left side of your screen, then scroll down to locate the "Onboarding Setup Link".
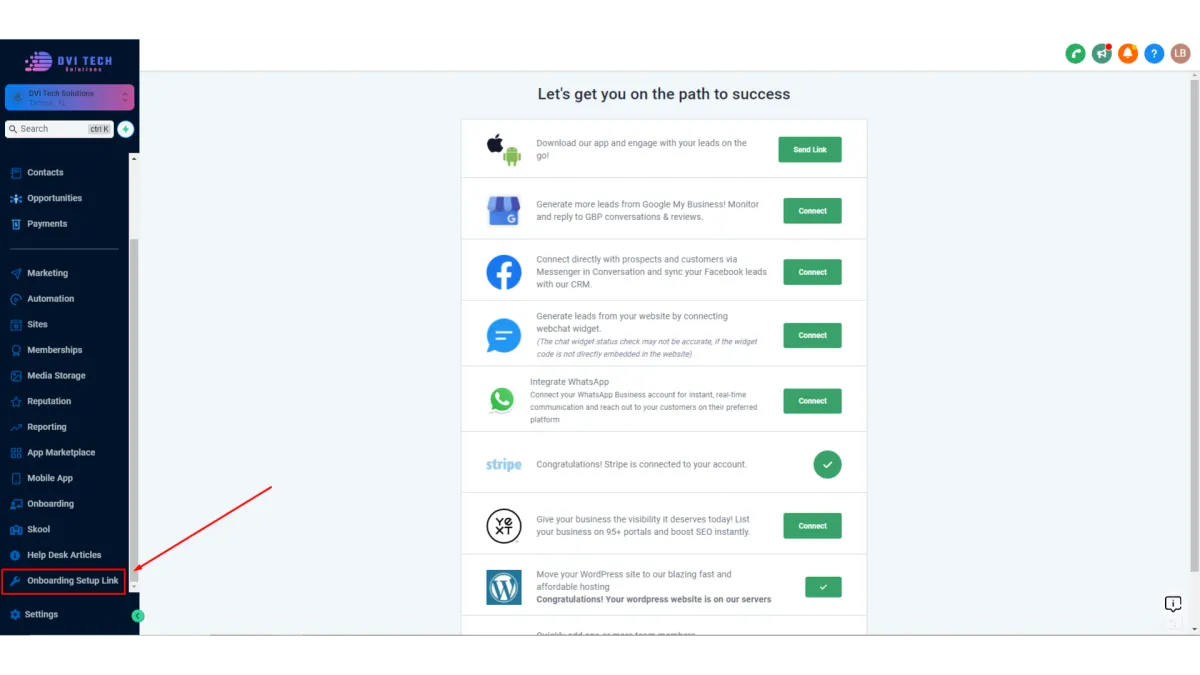
- Follow the Guided Setup Instructions
After clicking the "Onboarding Setup Link" you will be guided through a series of steps to complete your onboarding, such as entering company details, configuring service preferences, and setting up billing information.
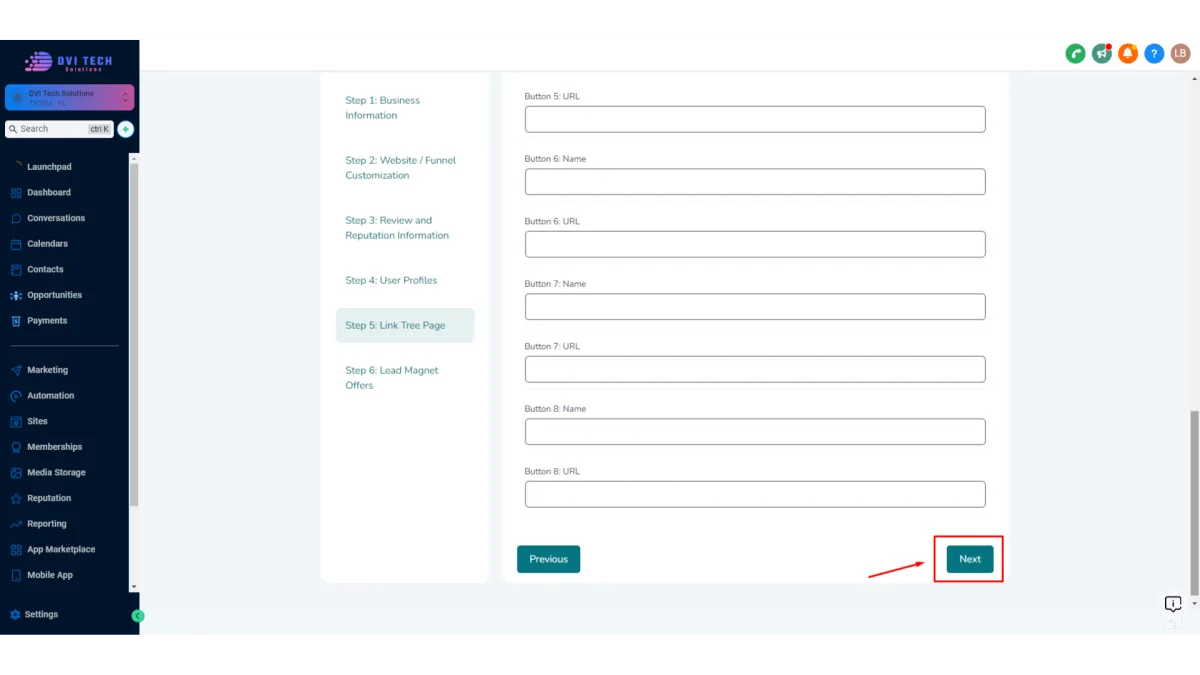
- Review and Confirm Your Settings
After completing each step, review your inputs to ensure all information is correct, then click "Next" to proceed.
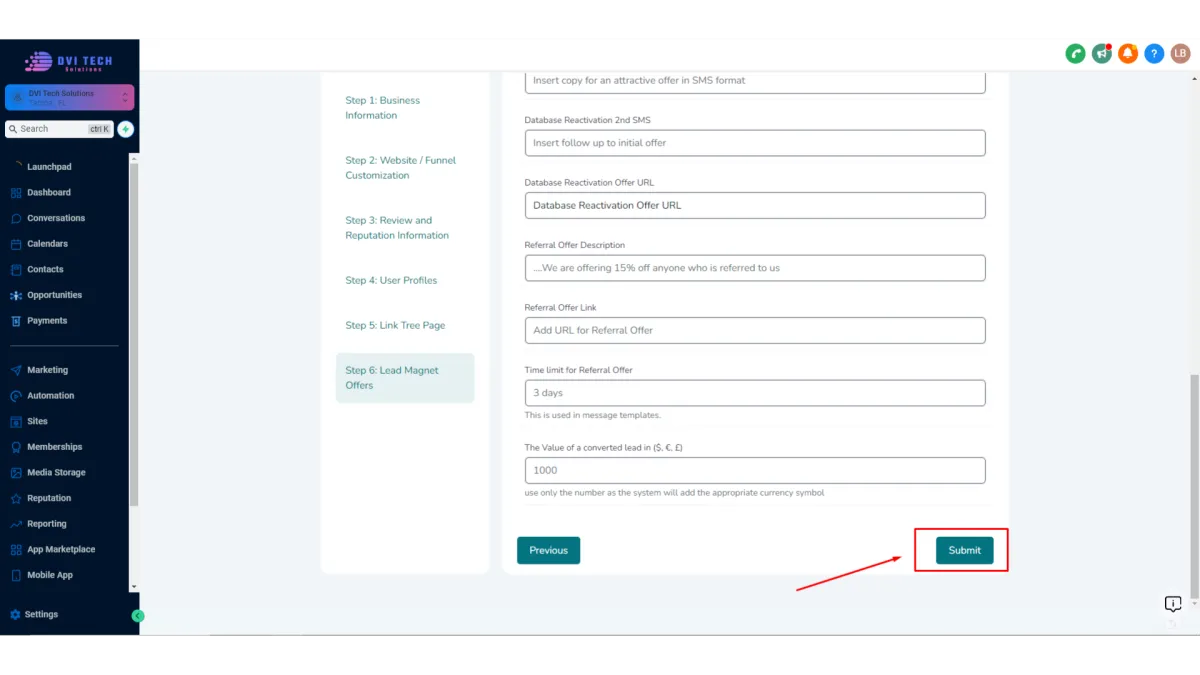
- Complete the Onboarding Process
Once all steps are completed, click the "Submit" button. Your account will now be fully set up and ready to use.
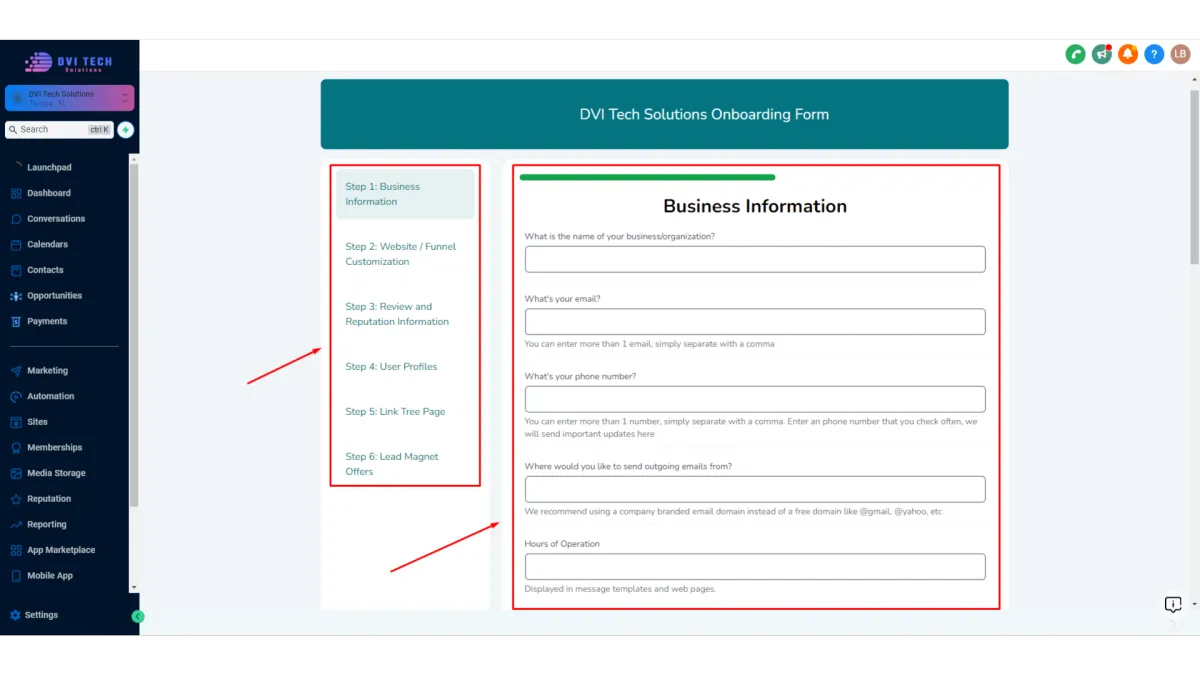
You'll See A Form:
- Each Field is equivalent to Custom Values for your Software
Review the list of custom values that need to be filled out. These include business name, contact information, service details, and other business-specific identifiers.
- Fill Out Custom Values:
Click on each custom value field and enter the necessary information.
Ensure the accuracy and completeness of each field to prevent issues in the system’s functionality.
- Save and Confirm Entries:
After entering all required information, save your changes.
Double-check that all custom values are correctly filled out and reflect your business details accurately.
Here's how you check if the custom values are filled correctly:
- Check Side Tab
Navigate to the side menu on the left side of your screen to locate the "Settings".
- Custom Values
You'll see the mapping of the fields with their unique keys and values that you can use on your websites, email templates, SMS templates and more.
Using Unique Keys will auto populate the values such as contact details, preferences, or specific identifiers. refer to the previous page highlighted